You have approved a jewelry CAD rendering and are ready to see your design become reality. However, when the first physical sample arrives, something seems different.
The pendant looks smaller than expected. The metal edges appear softer. The gold color is not exactly what you imagined, or the gemstones look different under natural light.
Does this mean your jewelry manufacturer has made a mistake?
Not necessarily.
A jewelry CAD rendering and a physical jewelry sample serve different purposes. CAD helps define the product's dimensions, structure, and manufacturing requirements, while a physical sample reveals how the design looks, feels, and performs in real life.
For jewelry brands, wholesalers, retailers, and independent designers, understanding these differences is an important part of successful custom jewelry manufacturing.
At MCGA Jewelry, we understand that turning a digital design into a production-ready product requires careful coordination between design, sampling, manufacturing, finishing, and quality control.
In this guide, we explain the most common reasons why jewelry samples look different from CAD renderings and how B2B buyers can evaluate samples more effectively before approving bulk production.
What Is a Jewelry CAD Rendering?
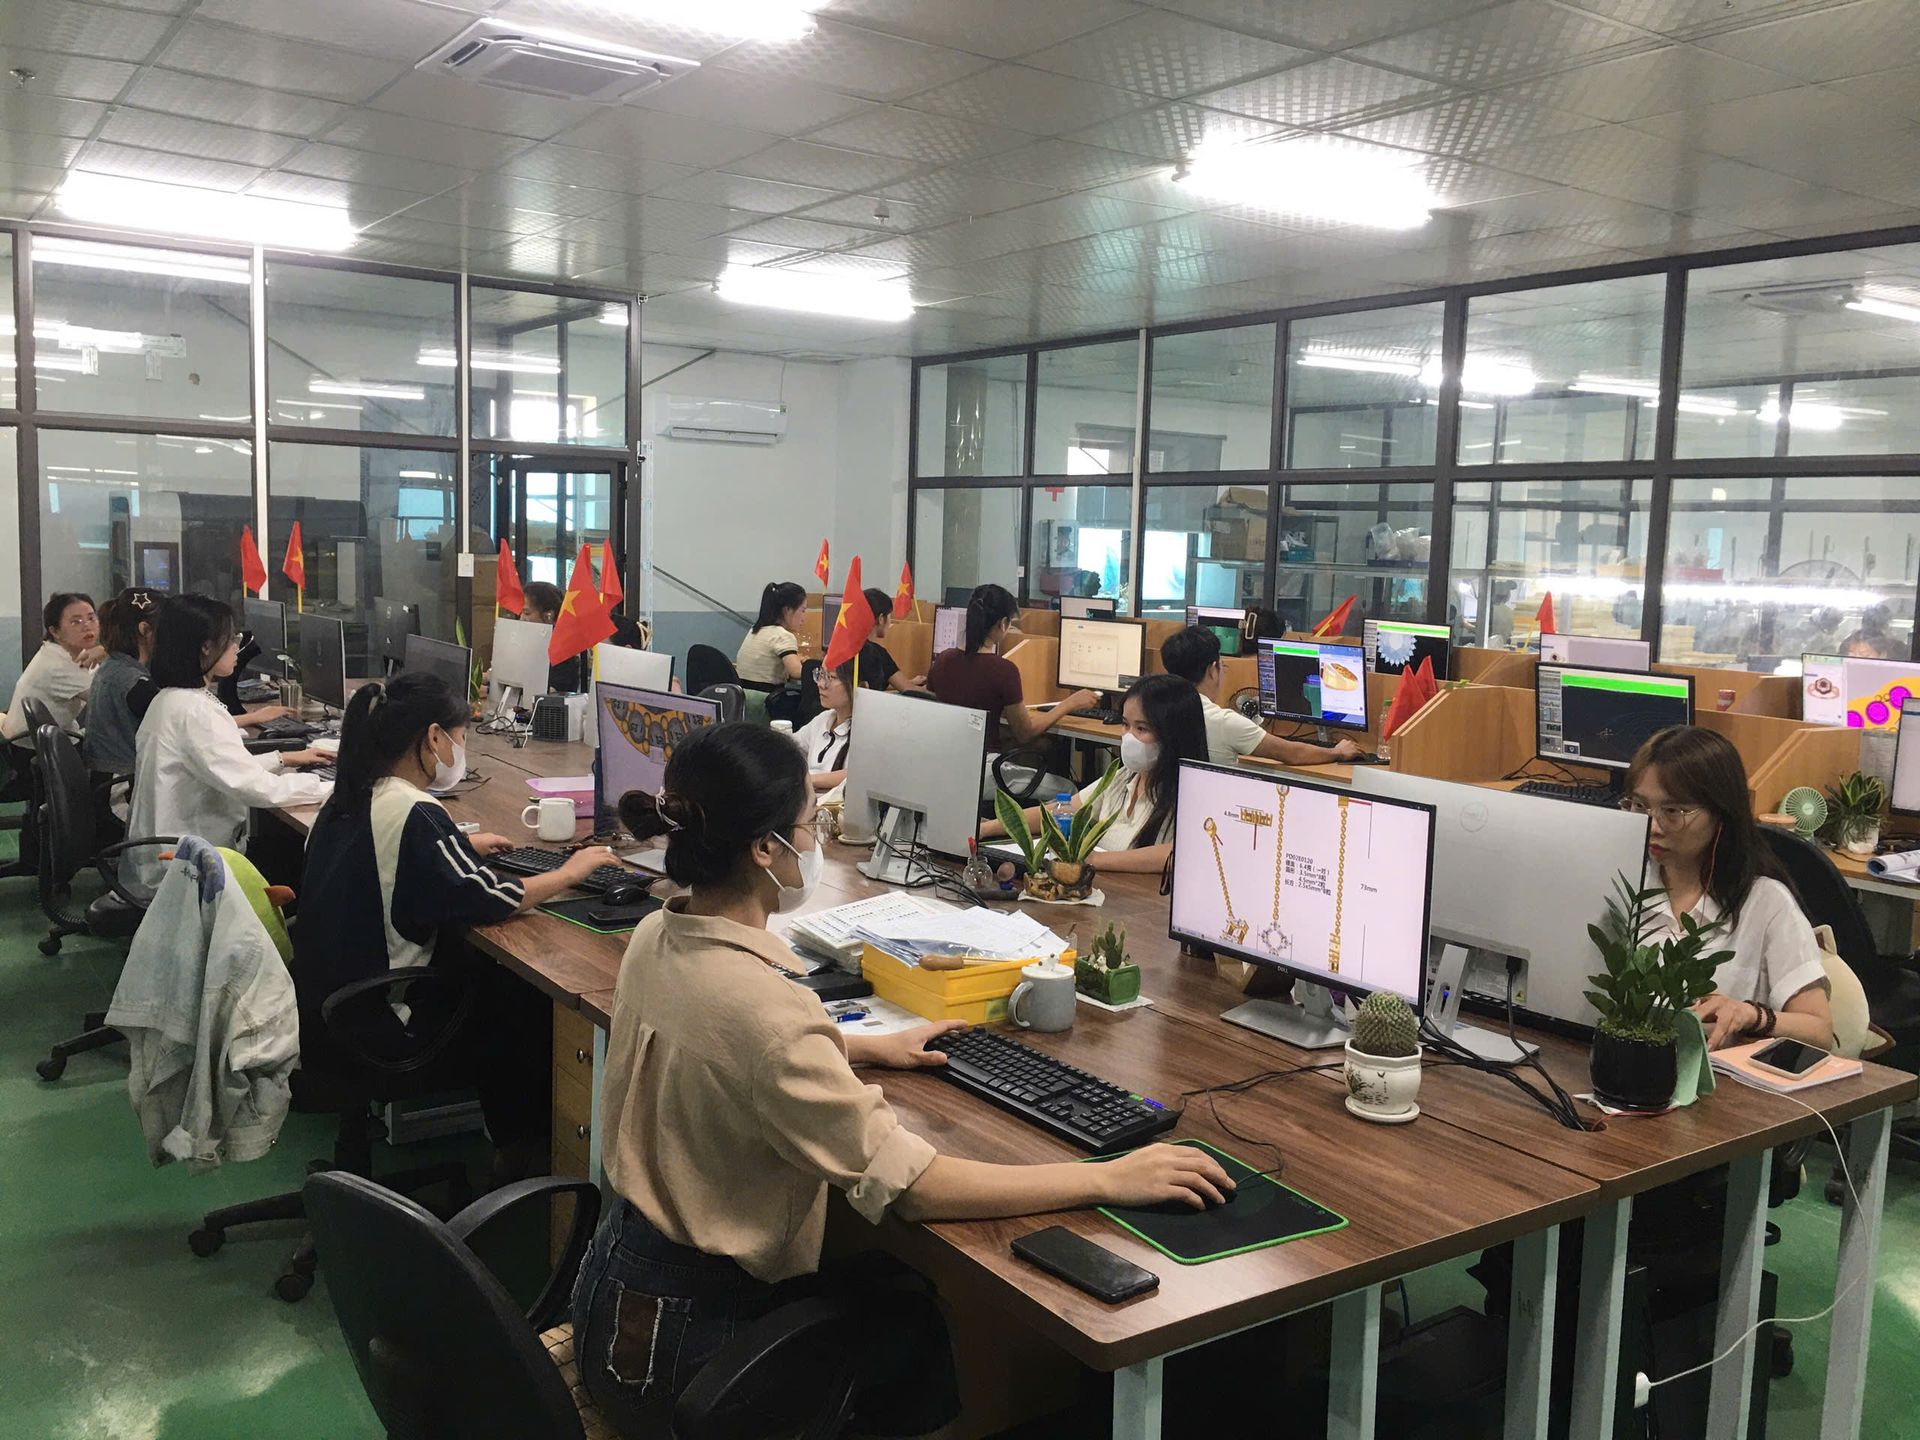
CAD stands for Computer-Aided Design. In jewelry manufacturing, CAD software is used to create a digital model of a product before physical production begins.
A CAD model can define important technical details, including:
Product dimensions and overall shape
Metal thickness and structural details
Gemstone sizes and positions
Stone-setting structures
Ring sizes and component measurements
Logo placement and engraving details
Connections between individual components
A rendering is then generated to help buyers visualize the proposed design.
Modern rendering software can create highly realistic images with simulated metal reflections, gemstone brilliance, and detailed surface finishes.
However, a rendering remains a digital representation. It cannot fully reproduce the behavior of real metal, gemstones, plating, or moving components.
For this reason, CAD approval is an important milestone, but it does not replace physical sample evaluation.
Why Is CAD Important in Custom Jewelry Manufacturing?
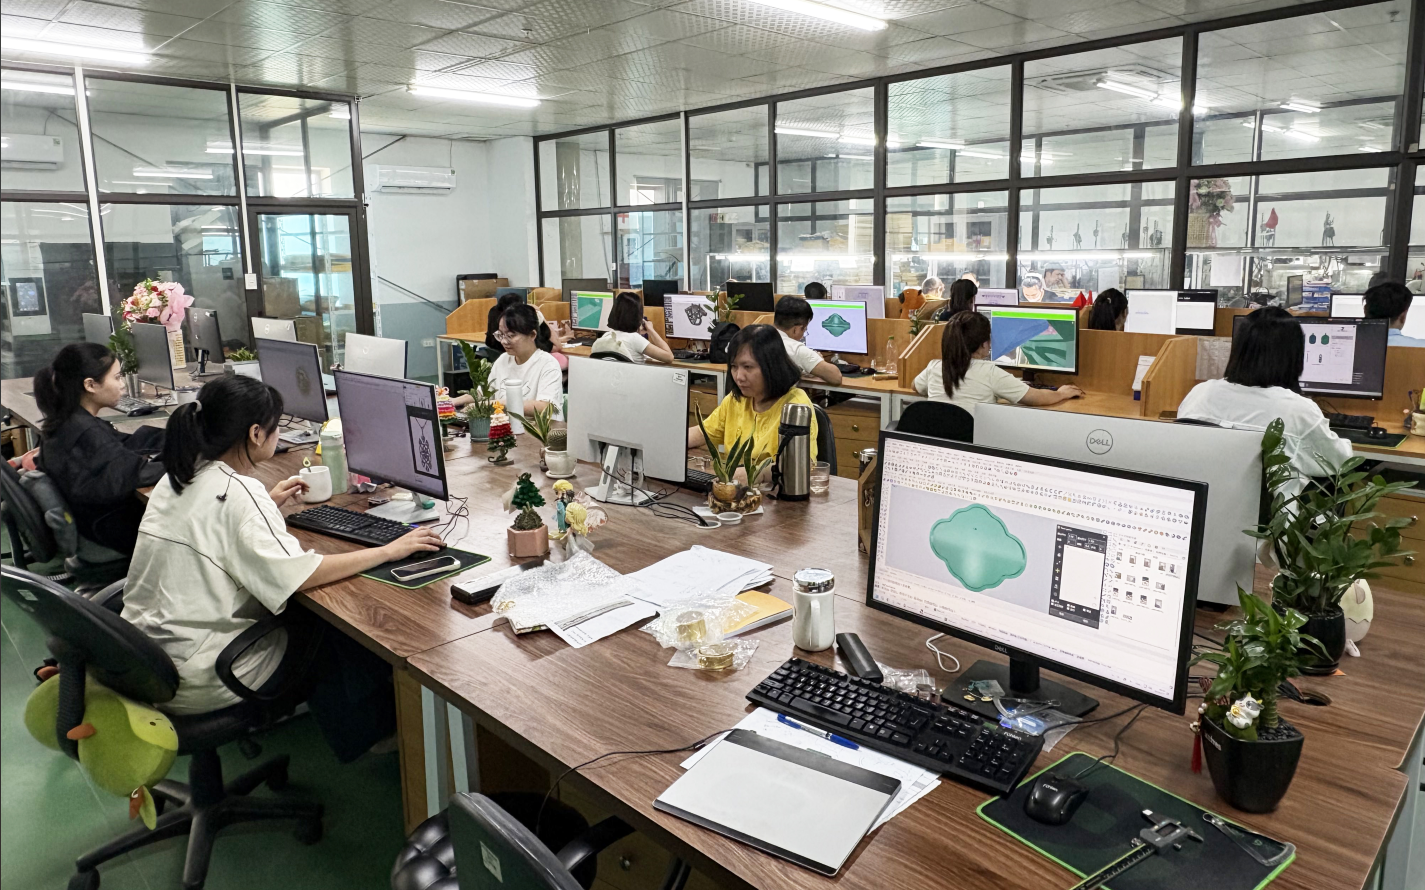
CAD is more than a visual design tool. It helps a custom jewelry manufacturer evaluate whether a design can be manufactured reliably.
Before sampling, the design team may need to assess:
Whether the metal structure is strong enough for its intended use
Whether gemstone dimensions match the setting
Whether thin sections can withstand manufacturing and finishing
Whether different components can be assembled correctly
Whether the design can be cast, machined, polished, or plated as required
For example, a pendant may look elegant in a digital rendering, but an extremely thin connection point could be vulnerable during everyday use.
Similarly, a pavé design may look attractive on screen, but the setting structure must leave enough metal to secure the stones.
The goal of CAD is to balance the intended appearance with practical manufacturing requirements.
8 Reasons Why a Jewelry Sample May Look Different from CAD
1. Digital Images Can Make Jewelry Look Larger
CAD renderings are often displayed at a much larger scale than the actual jewelry.
A 10 mm pendant might occupy a large part of your computer screen, making every small detail appear prominent.
When you hold the actual pendant, the same details naturally look smaller.
This difference is especially noticeable with:
Small pendants and charms
Delicate rings
Fine chains
Miniature logos
Small gemstone settings
How to avoid this problem:
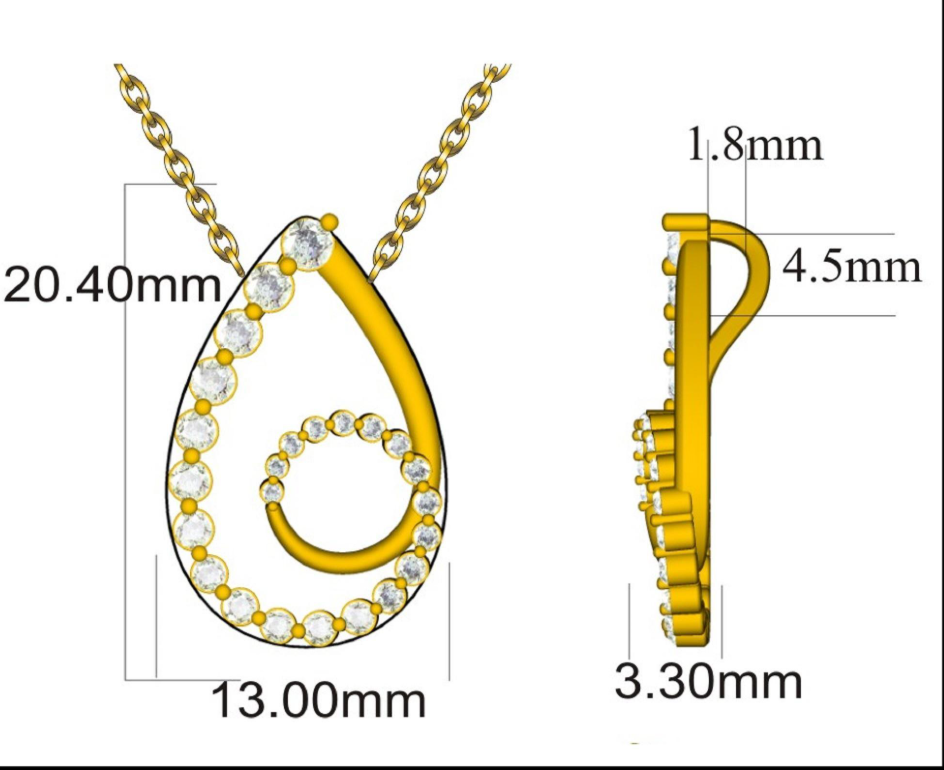
Always review the actual dimensions in millimeters rather than judging the design from the screen alone.
For custom jewelry projects, confirm the overall length, width, thickness, and other critical measurements before sample production.
Where possible, review a dimensioned CAD drawing alongside the rendering.
2. Metal Thickness and Reflections Can Change the Appearance
Digital surfaces can look perfectly smooth under controlled lighting. Real metal reflects its surrounding environment, so the same surface may appear different depending on the viewing angle.
A polished edge may look thicker or thinner because of highlights and shadows.
The appearance can also vary according to:
Metal color
Surface finish
Lighting conditions
Viewing angle
Product geometry
For example, a high-polish stainless steel pendant may show stronger reflections than a brushed or matte version of the same design.
This does not automatically mean the metal thickness is incorrect.
How to avoid this problem:
Compare the physical sample with the approved technical dimensions. If the product looks substantially different, measure the relevant sections instead of relying only on visual impressions.
3. Gemstones Look Different Under Real Lighting
Digital gemstones can be rendered under ideal lighting conditions. Real gemstones interact with light in more complex ways.
Their appearance depends on factors such as:
Stone cut and proportions
Stone color and clarity
Lighting conditions
Viewing angle
Surrounding metal
Stone-setting structure
A stone that looks bright and uniform in a rendering may display different reflections or color variations in real life.
This is particularly noticeable in designs featuring zircon, moissanite, diamonds, or colored gemstones.
The metal surrounding a stone can also affect its visual appearance. A bezel setting, for example, creates a different look from a prong setting even when the gemstone itself is unchanged.
How to avoid this problem:
Confirm the required stone type, dimensions, color, and other agreed specifications before sampling.
Evaluate the physical sample under several lighting conditions, and distinguish normal optical differences from incorrect stones or poor setting quality.
4. Gold and Silver Colors May Not Match the Screen Exactly
Color differences are another common source of confusion during jewelry sample approval.
The yellow gold displayed on one monitor may appear warmer or cooler on another. Screen brightness, display calibration, and image processing can all affect the perceived color.
The appearance of physical jewelry also depends on the material and finishing process.
For example, a gold-colored finish on stainless steel or brass may look different depending on the plating system, coating specifications, and surface preparation.
Sterling silver also has its own natural appearance, while polished, brushed, oxidized, or plated finishes can create different visual effects.
How to avoid this problem:
When developing a custom collection, specify the base material, target color, plating or coating requirements, and desired surface finish.
If color consistency is important to your brand, use an approved physical sample as the reference for subsequent production wherever appropriate.
5. Polishing Can Soften Fine Details
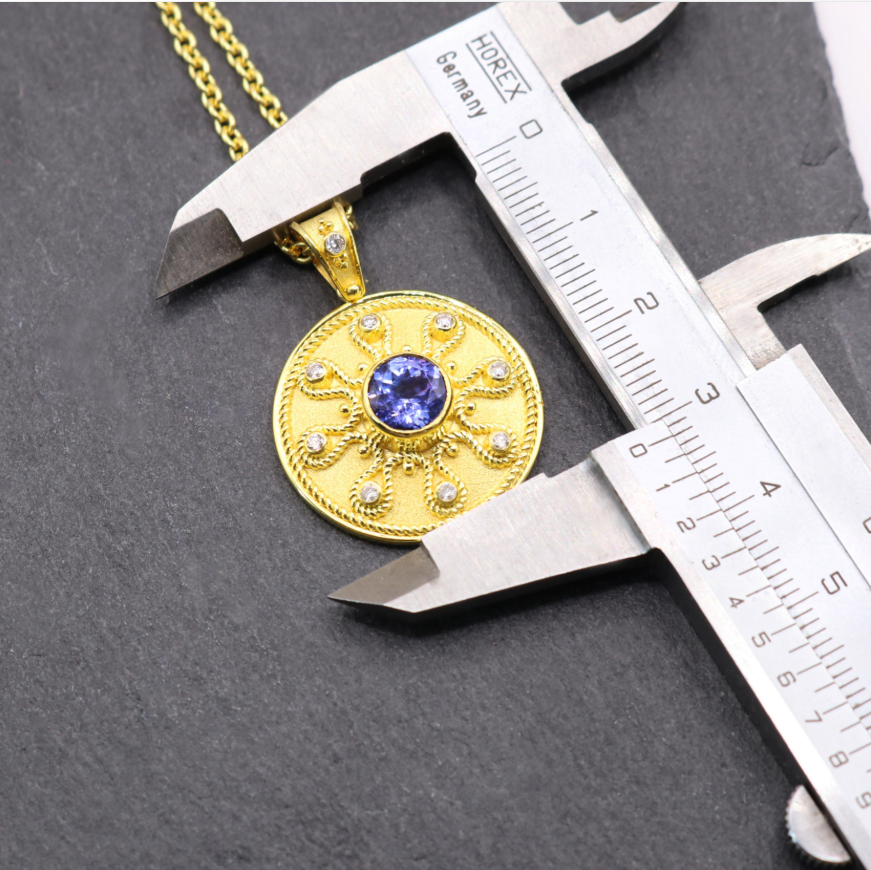
A CAD model can display extremely sharp edges, clean corners, and precise textures.
Physical jewelry, however, often requires polishing to achieve the desired surface quality.
Polishing removes small amounts of material and can soften certain design features, including:
Sharp edges and corners
Fine engraved lines
Small decorative textures
Raised details
Narrow gaps and grooves
This is especially important for jewelry with intricate patterns or very fine lettering.
If a design contains details that are too small or too shallow, some features may become less visible after finishing.
How to avoid this problem:
Discuss fine details with your jewelry manufacturer before approving the final CAD file.
Designers and manufacturing teams should consider the material, dimensions, manufacturing method, and finishing requirements when preparing a production-ready design.
The aim is to preserve the intended appearance while allowing enough room for practical manufacturing and polishing.
6. Stone Setting Can Change the Final Design
A digital model may show gemstones positioned perfectly within their settings. In physical production, the stones must be secured by actual metal structures.
Different setting methods have different construction requirements.
For example:
Prong setting: Metal prongs must securely hold the stone.
Bezel setting: A metal rim surrounds the stone and affects its visible outline.
Pavé setting: Small stones require sufficient supporting metal between settings.
Channel setting: Metal walls hold stones in an aligned row.
These structures may make the finished jewelry look slightly different from a simplified or highly polished digital rendering.
However, visual similarity should never come at the expense of stone security.
How to avoid this problem:
Check the stone alignment, setting height, visible metal, and overall appearance during sample approval.
If the design requires a particular setting style, communicate that requirement clearly before production.
Any loose stones or structural problems should be addressed before the sample is approved.
7. Weight, Balance, and Comfort Cannot Be Fully Evaluated Digitally
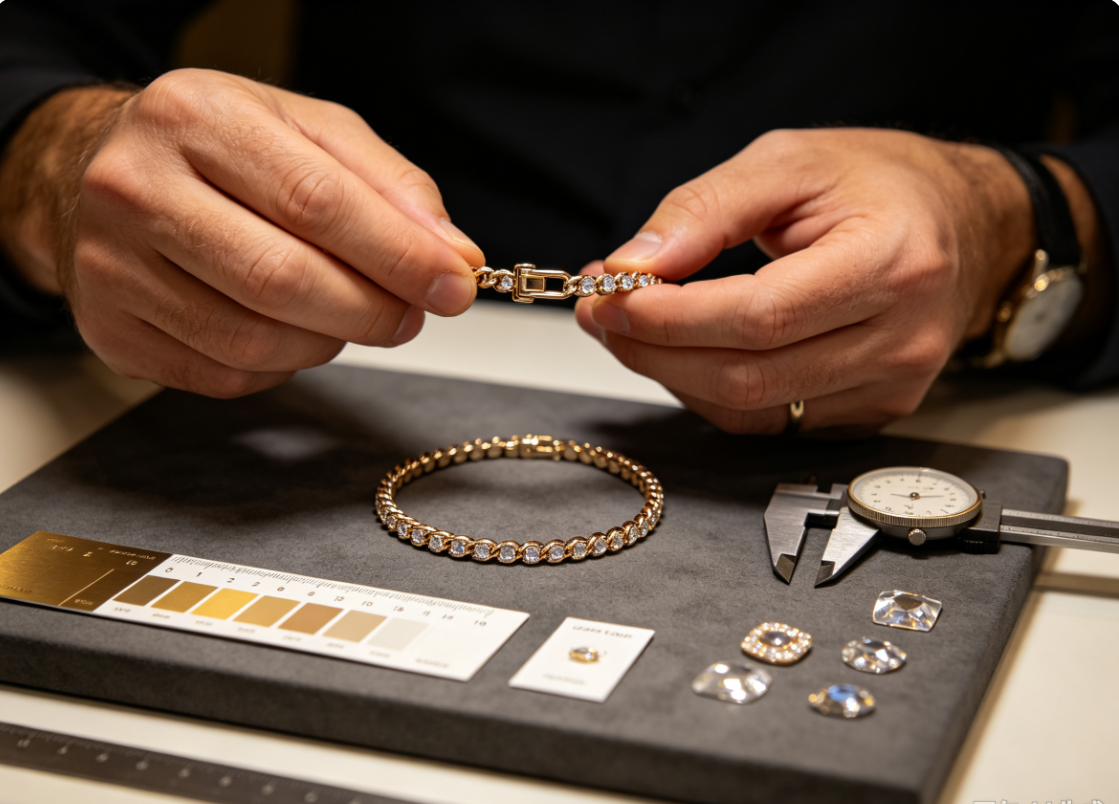
A CAD rendering can show the shape of a piece of jewelry, but it cannot reproduce the experience of wearing it.
A physical sample allows you to evaluate:
Actual weight
Balance and movement
Comfort against the skin
Earring weight and fit
Bracelet flexibility
Pendant proportions when worn
For example, an earring may look elegant in a rendering but feel too heavy after several hours of wear.
A pendant may have the correct dimensions but sit differently on a chain than expected.
These details can influence customer satisfaction and product returns, particularly for brands developing wearable everyday collections.
How to avoid this problem:
Whenever practical, try on the physical sample before approval.
For earrings, necklaces, bracelets, and rings, evaluate not only the appearance but also the wearing experience.
If the product feels too heavy or unbalanced, discuss possible adjustments to the dimensions, structure, or material usage.
8. Chains, Clasps, and Moving Components Behave Differently in Real Life
A CAD rendering usually presents jewelry in a fixed position. Actual products move and interact with the wearer.
Chains bend, bracelets rotate, earrings swing, and clasps open and close.
These behaviors cannot be fully evaluated from a static image.
For example, a pendant may look centered in the CAD rendering but tilt when attached to a chain. A bracelet may look symmetrical on screen but rotate during wear.
Similarly, a clasp that looks correct in the digital model must still function reliably in the physical product.
How to avoid this problem:
Test moving components during sample review.
Check chain flexibility, clasp operation, connection points, pendant balance, and the movement of assembled components.
For products intended for everyday wear, functional testing is just as important as visual inspection.
What Differences Are Normal, and What Should You Question?
Not every difference between CAD and a physical sample indicates a manufacturing defect. The key is to distinguish expected visual variation from deviations in approved specifications.
| Evaluation Area | Differences That May Be Normal | Differences That Need Investigation |
|---|---|---|
| Size and proportions | Different perceived scale on screen | Measurements outside agreed tolerances |
| Metal appearance | Different reflections under changing light | Incorrect material or finish |
| Surface details | Slightly softened edges after polishing | Missing or significantly altered design details |
| Gemstones | Different reflections under real lighting | Incorrect stone size, color, or type |
| Stone setting | Slight differences in visible metal | Loose stones or insecure settings |
| Color | Minor perceived changes due to lighting | Finish that does not meet the approved color reference |
| Weight and comfort | Physical feel that was difficult to predict digitally | Weight or dimensions outside agreed requirements |
| Function | Movement that cannot be shown in a static image | Faulty clasps, weak connections, or structural problems |
The most important principle is simple: visual differences should be evaluated against the approved design, technical specifications, and agreed quality requirements.
If a critical dimension, material, or functional requirement is incorrect, the issue should be discussed with the manufacturer before bulk production.
How to Evaluate a Jewelry Sample Before Approval
A structured sample review helps jewelry brands identify problems early and reduce unnecessary revisions.
Step 1: Check the Dimensions
Compare the physical sample with the approved CAD drawing.
Measure the overall length, width, thickness, ring size, and other critical dimensions relevant to the product.
Step 2: Confirm the Materials
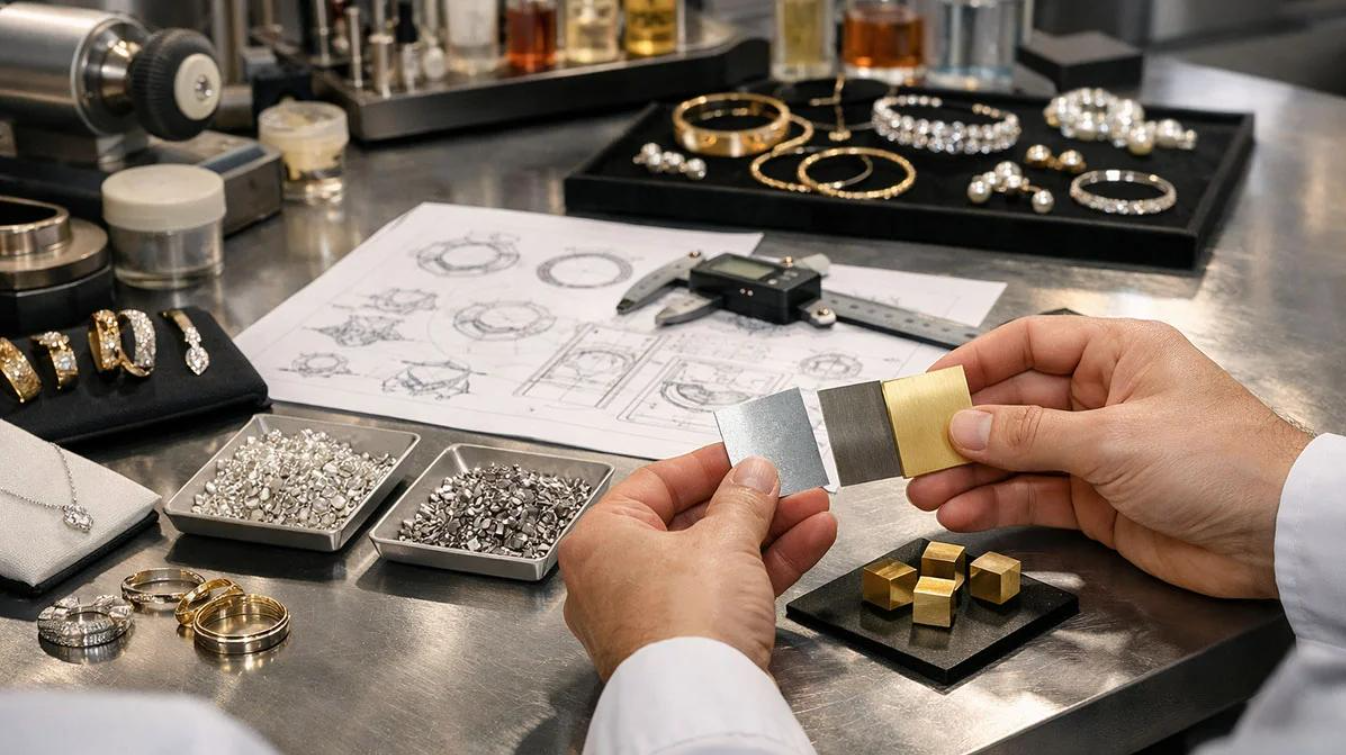
Verify that the sample uses the agreed base material, gemstones, and finishing system.
For example, a project may specify 316L stainless steel, brass, or 925 sterling silver, depending on the design and product requirements.
Step 3: Inspect the Structure
Check whether the product feels sufficiently strong for its intended use.
Pay attention to thin sections, connection points, soldered areas, and components that may experience repeated movement.
Step 4: Examine Stone Setting
For gemstone jewelry, check stone alignment, setting consistency, visible metal, and security.
Any loose stones or obvious setting defects should be resolved before approval.
Step 5: Review Surface Finishing and Color
Inspect polishing, texture, plating, coating, and color consistency.
Evaluate the sample under different lighting conditions when color accuracy is important.
Step 6: Test Comfort and Function
Try the jewelry on where practical.
Open and close clasps, check chain movement, and evaluate how the product sits on the body.
Step 7: Record Specific Feedback
Clear feedback makes sample revisions more efficient.
Instead of saying, "Something looks wrong," provide measurable and actionable comments.
For example:
The pendant should be 20 mm wide instead of 18 mm.
The logo engraving needs to be more visible.
The gold finish should match the approved reference sample.
The earring feels too heavy and needs a lighter structure.
The clasp requires smoother operation.
Photographs, measurements, and annotated CAD images can help the manufacturing team understand exactly what needs to change.
Why Physical Sampling Matters Before Bulk Production
Even when a CAD rendering looks perfect, moving directly into mass production can introduce unnecessary risks.
A physical sample allows the buyer and manufacturer to evaluate the product before committing to a larger quantity.
Depending on the design, sampling may reveal opportunities to improve:
Product proportions
Weight and comfort
Manufacturing feasibility
Stone-setting details
Surface finishing
Color consistency
Component functionality
Logo and engraving visibility
Resolving these issues during development is generally more practical than correcting them after hundreds or thousands of pieces have been produced.
For brands investing in OEM/ODM jewelry manufacturing, the sample stage also creates an opportunity to align the design team, purchasing team, and manufacturing team on the final product standard.
From CAD to Finished Jewelry: MCGA Jewelry's Manufacturing Approach
At MCGA Jewelry, we support B2B jewelry development and manufacturing for brands, retailers, wholesalers, and designers seeking a manufacturing partner in Vietnam.
Our manufacturing capabilities cover materials including 316L stainless steel, brass, and 925 sterling silver, with options selected according to the product design and project requirements.
Our integrated production capabilities support key manufacturing processes such as casting, CNC machining, welding, polishing, plating and PVD finishing, gemstone setting, quality inspection, and packaging.
A typical custom jewelry development workflow can follow this sequence:
Design Concept → CAD Review → Sample Development → Customer Feedback → Sample Approval → Bulk Production → Quality Control → Packaging
Each stage helps translate the original design into a product that can be manufactured according to the agreed specifications.
For custom projects, we encourage buyers to confirm critical details before bulk production, including dimensions, materials, surface finishes, logo placement, and functional requirements.
The approved sample and technical specifications can then serve as important references for production and quality inspection.
With MCGA's manufacturing base in Vietnam and an integrated production approach, we aim to help B2B customers coordinate product development and manufacturing more efficiently.
Whether you are launching a new jewelry brand, expanding an existing collection, or sourcing custom jewelry for wholesale, clear communication during the sample stage helps establish a stronger foundation for consistent production.
Sample Approval: Creating a Clear Standard for Bulk Manufacturing
A successful sample is more than a prototype. It provides a practical reference for what the finished product should look and feel like.
For a custom jewelry project, the production standard should consider several elements together:
Approved CAD drawings and dimensions
Physical sample appearance
Base material and component requirements
Gemstone specifications, where applicable
Plating, PVD, or other finishing requirements
Logo, engraving, and packaging details
Agreed quality and functional requirements
A clear standard helps reduce misunderstandings between the buyer and manufacturer, particularly when an order moves from a small sample quantity to hundreds or thousands of pieces.
It also makes it easier to identify whether a difference is an acceptable variation or a deviation that needs correction.
For this reason, sample approval should be treated as a key quality checkpoint in custom jewelry manufacturing, rather than simply the final step before placing an order.
Conclusion
A jewelry sample may look different from its CAD rendering because digital images cannot fully reproduce real-world dimensions, metal reflections, gemstone behavior, polishing, stone setting, weight, or movement.
Some differences are normal. Others may indicate a problem with the product specifications or manufacturing quality.
For jewelry brands, the solution is to use CAD and physical sampling together.
CAD helps define the design and manufacturing structure.
Physical samples help verify appearance, comfort, function, and finishing.
By reviewing both carefully, buyers and manufacturers can identify issues earlier, improve communication, and establish a clearer standard for bulk production.
At MCGA Jewelry, we believe that successful OEM/ODM projects begin with clear specifications, practical sample evaluation, and close coordination throughout the manufacturing process.
Developing a custom jewelry collection?
📩Contact MCGA Jewelry to discuss your design, material requirements, and manufacturing project.